DIY Monster Halloween Lantern: A Fun Craft for Kids
Share
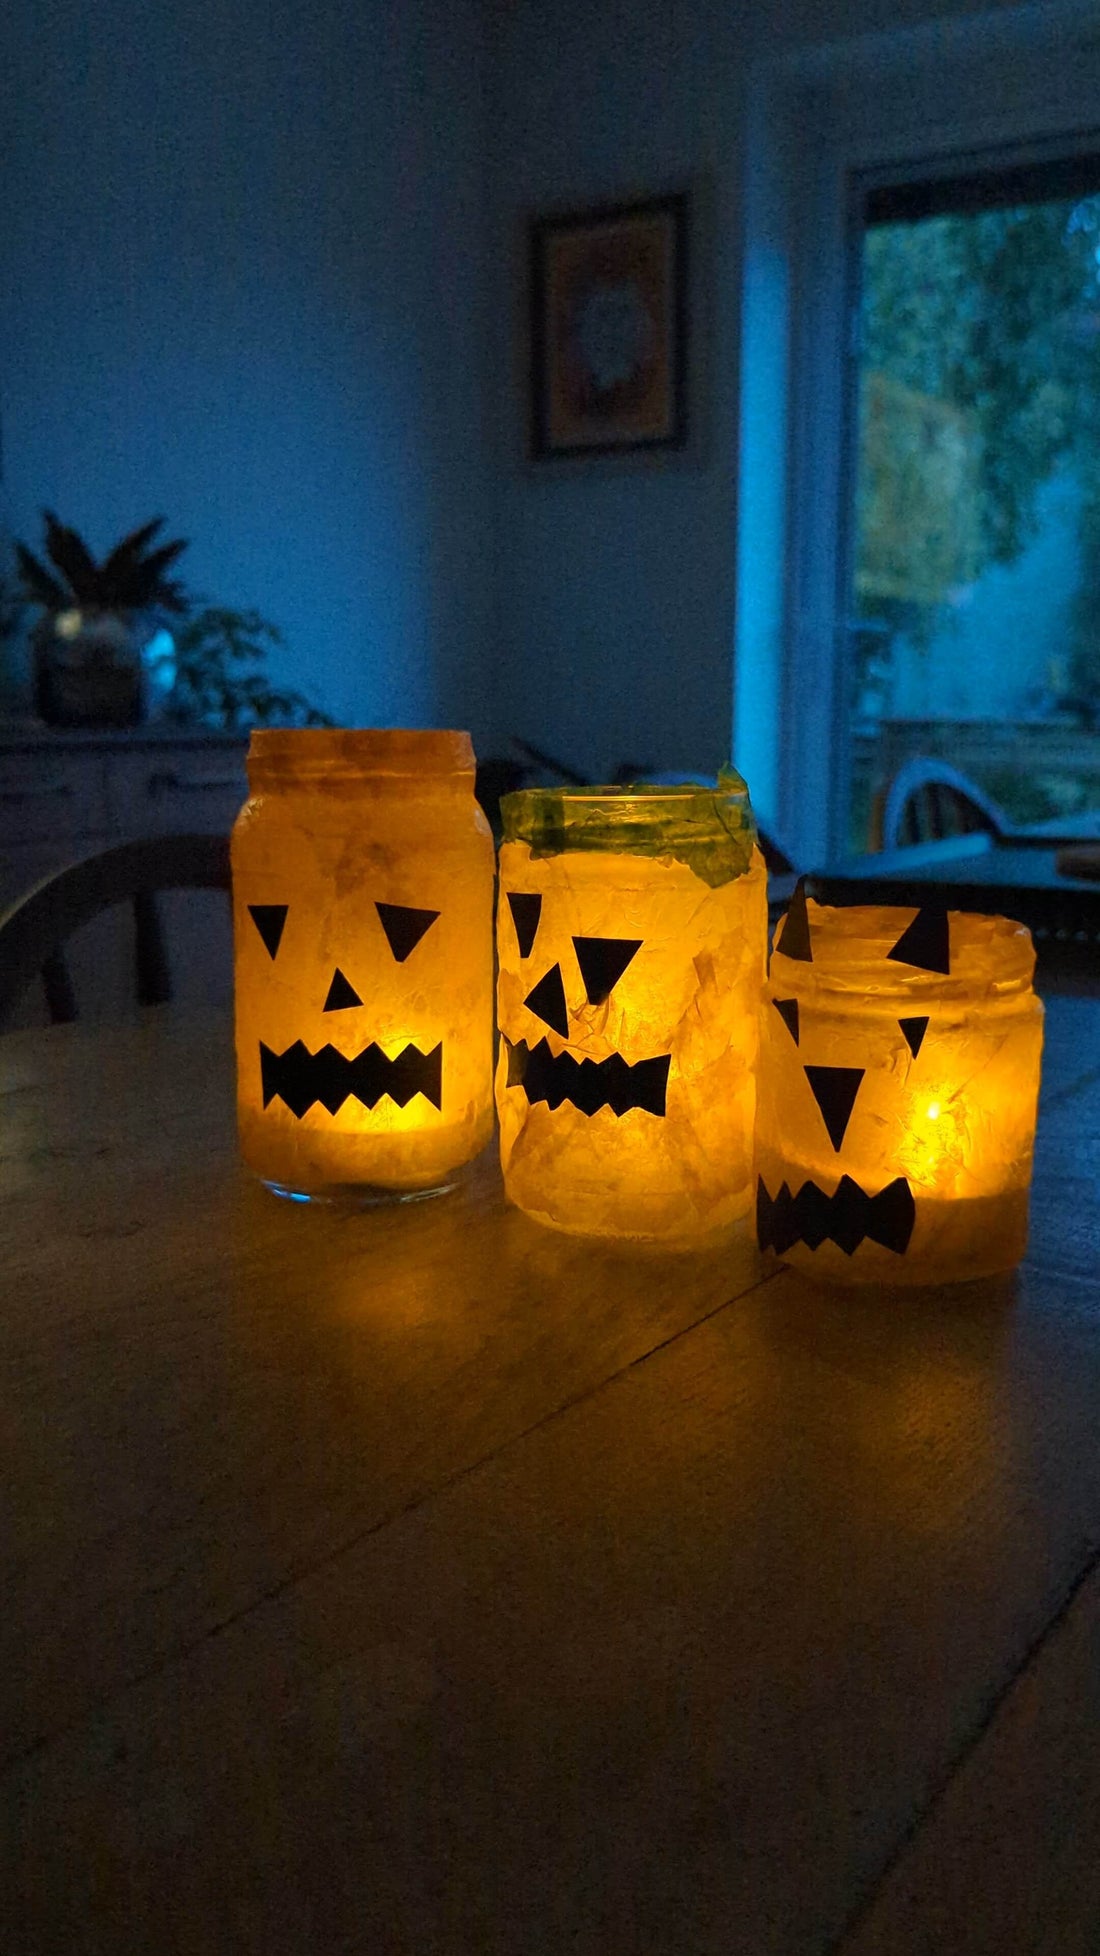
Get ready to add some spooky fun to your Halloween with a DIY Monster Lantern that kids will love creating! This craft project is not only easy and entertaining but also a great way to make your Halloween decorations stand out. Using materials like colored tissue paper, a jam jar, black card, and a battery-powered candle, you can make a monster lantern that will light up any Halloween party.
Materials You’ll Need:
- Empty jam jar
- Colored tissue paper (various colors)
- Black card
- Glue (white or craft glue works well)
- Battery-powered candle (safe and easy for kids)
- Scissors
- Pencil
Step 1: Prepare the Jam Jar
Start by cleaning your empty jam jar thoroughly and removing any labels. Once it’s dry, you’re ready to transform it into a spooky monster lantern!
Step 2: Cut and Apply Tissue Paper
Cut the colored tissue paper into various shapes and sizes. Think about how you want your monster to look—do you want it to have a patchwork design, or should it be a solid color with fun accents?
Apply glue to the outside of the jam jar and start sticking on the tissue paper pieces. Overlap them a bit to cover the jar completely, creating a vibrant, textured look. You can use different colors and patterns to give your monster its unique personality. Let the glue dry completely before moving on to the next step.
Step 3: Create Monster Features
While the glue is drying, prepare the monster’s features. Cut out shapes from the black card to create eyes, mouths, or other monster features. You can make big googly eyes, sharp teeth, or even little monster horns—get creative!
Once the tissue paper is dry, glue these features onto the jar. Position them where you think they’ll look best, and let the glue dry.
Step 4: Insert the Battery-Powered Candle
To make your lantern glow, place a battery-powered candle inside the jar. These candles are a safe option for kids and create a lovely, spooky light without the risk of flames.
Make sure the candle fits snugly at the bottom of the jar and is easy to turn on and off. If your jar has a lid, you can either leave it off or cut a small hole in it to allow the light to shine through.
Step 5: Display Your Monster Lantern
Your monster lantern is now ready to make an appearance! Place it on a table, a windowsill, or even use it as part of your Halloween decorations. The colorful tissue paper will glow with the light of the battery-powered candle, creating a fun and spooky atmosphere.

Complete the Look with Accessories!
Why not take your Halloween ensemble to the next level? Pair your DIY monster lantern with our Glitter Holographic Ghost Necklace from The Joyful Rebel. This sparkling, playful ghost design adds a touch of magic to any Halloween outfit. For adults, we offer matching Ghost Earrings to complete the look, making it a fun family affair!
Bonus Tips:
- For extra spooky effects, you can use glow-in-the-dark tissue paper or add glitter to your monster’s features.
- Make a whole collection of these lanterns in different monster designs and place them around your home for a festive Halloween display.
This DIY Monster Lantern is a fantastic way to get kids involved in Halloween crafts. It’s simple, fun, and results in a delightful decoration that adds a touch of homemade charm to your Halloween celebrations. Happy crafting and have a spooktacular Halloween!
