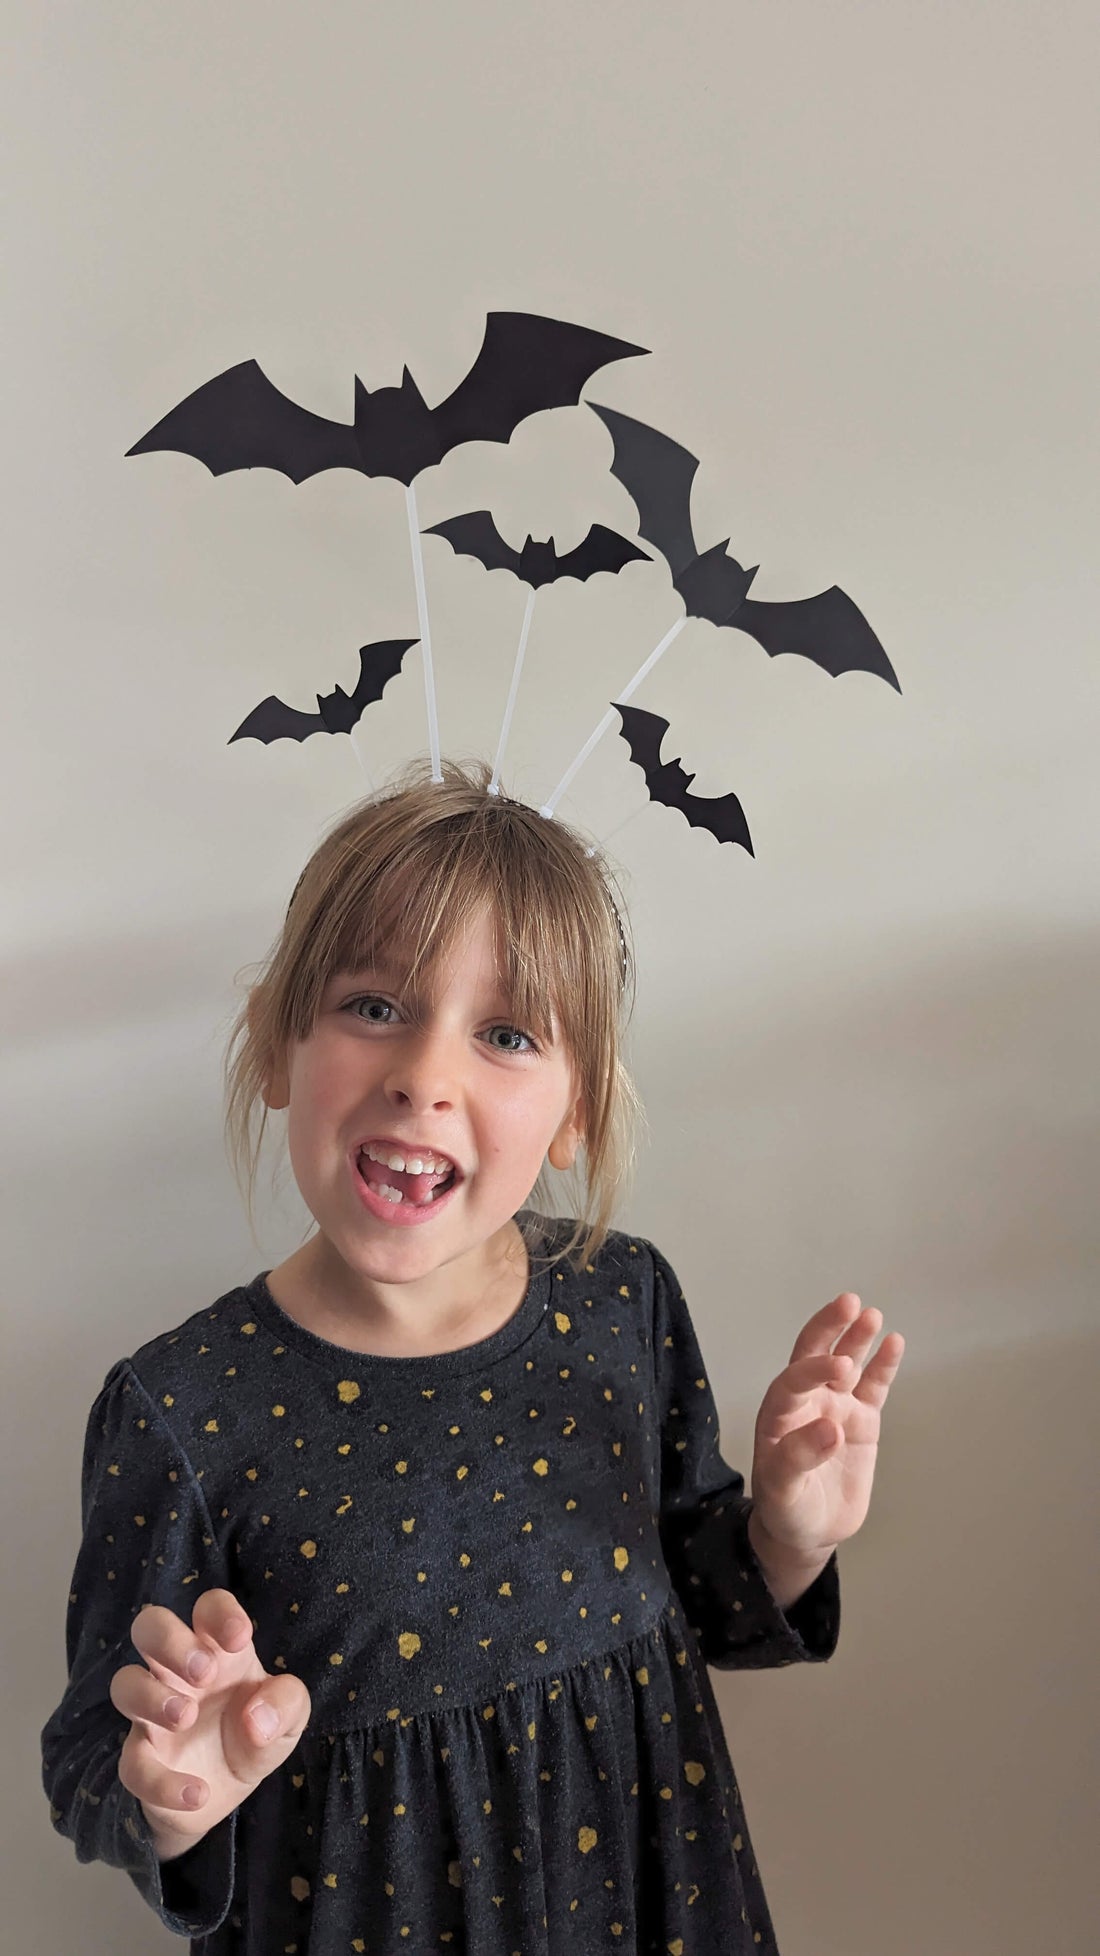
DIY Bat Headdress Tutorial for Kids: Perfect for Halloween or Dress-Up!
Share
Materials You’ll Need:
- Plain headband (black works best)
- Black or white cable ties (medium length)
- Black cardboard or thick paper
- Scissors
- Sticky dots or glue
- Pencil for tracing
- White chalk or crayon for decoration (optional)

Step 1: Create the Bat Silhouettes
First, start by drawing your bat shapes on black cardboard. If you want them to look extra neat, you can find a bat template online and print it out as a guide. The bats should be roughly 3-4 inches wide to sit nicely on the headband.
Once your bats are traced, carefully cut them out. You can make as many as you like, but around 4-6 bats will create a nice effect.
Step 2: Attach the Cable Ties
Next, take your black cable ties and attach them to the bats using sticky dots or glue. Stick one end of the cable tie to the back of each bat cutout. This will allow the bats to “fly” above the headband and give your headdress a fun, dynamic look.
Step 3: Secure the Bats to the Headband
Once the bats are attached to the cable ties, it’s time to secure them to the headband. Wrap the loose end of the cable ties around the headband, securing them in place. You can spread the bats out across the headband or cluster them together in the center for a dramatic effect.
Trim any excess from the cable ties if they feel too long or awkward.

Step 4: Add Extra Details (Optional)
To give your bat headdress a more finished look, you can use white chalk or a crayon to add small details like bat eyes or wings on the silhouettes. This step is optional but adds a cute touch if you want to make the bats stand out more.
Step 5: Try It On!
Once all your bats are attached, your DIY bat headdress is ready to wear! Let your little one try it on and watch their face light up with excitement. This simple project is not only fun to make but also makes for an awesome accessory for Halloween costumes or themed dress-up play.

Complete the Look with Accessories!
Why not take the spooky fun even further? To complete your child’s Halloween outfit, consider purchasing our Glitter Holographic Ghost Necklace from The Joyful Rebel. The shimmering, playful ghost design adds the perfect touch of Halloween magic to any costume. Plus, there’s a matching set of Ghost Earrings for adults, so you and your little one can share the fun of dressing up together!

Bonus Tips:
- For added sparkle, sprinkle some glitter glue onto the bats before attaching them.
- If you don’t have sticky dots, hot glue works great to attach the cable ties to the bats.
This bat headdress is a quick, easy, and creative craft that kids of all ages can enjoy. Paired with a Glitter Holographic Ghost Necklace and matching Ghost Earrings, it’s a perfect way to get into the spooky spirit of Halloween! Happy crafting!
